 English
 中文简体
中文简体 عربى
عربى Español

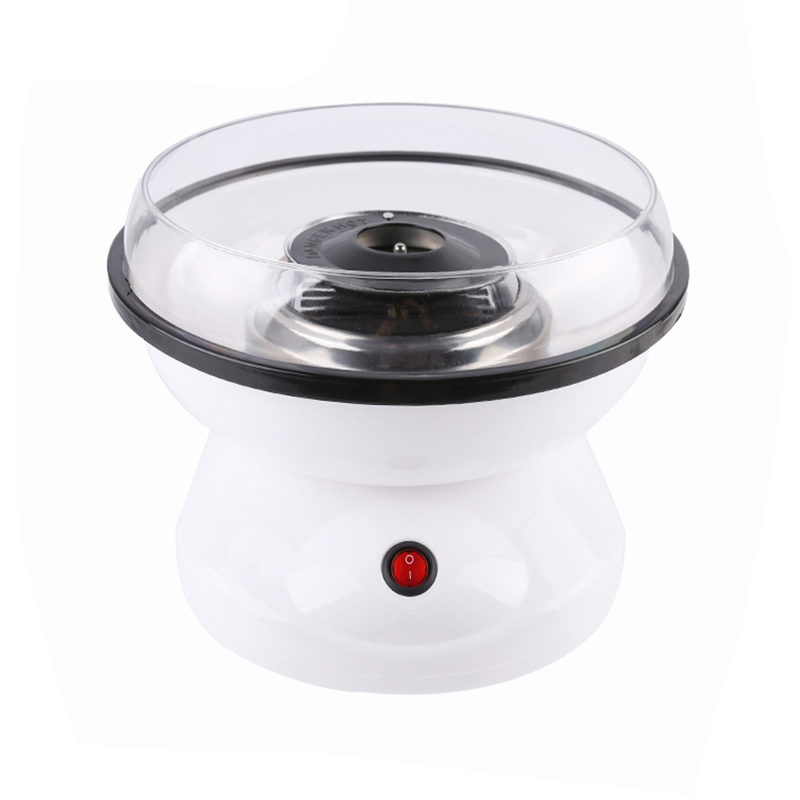
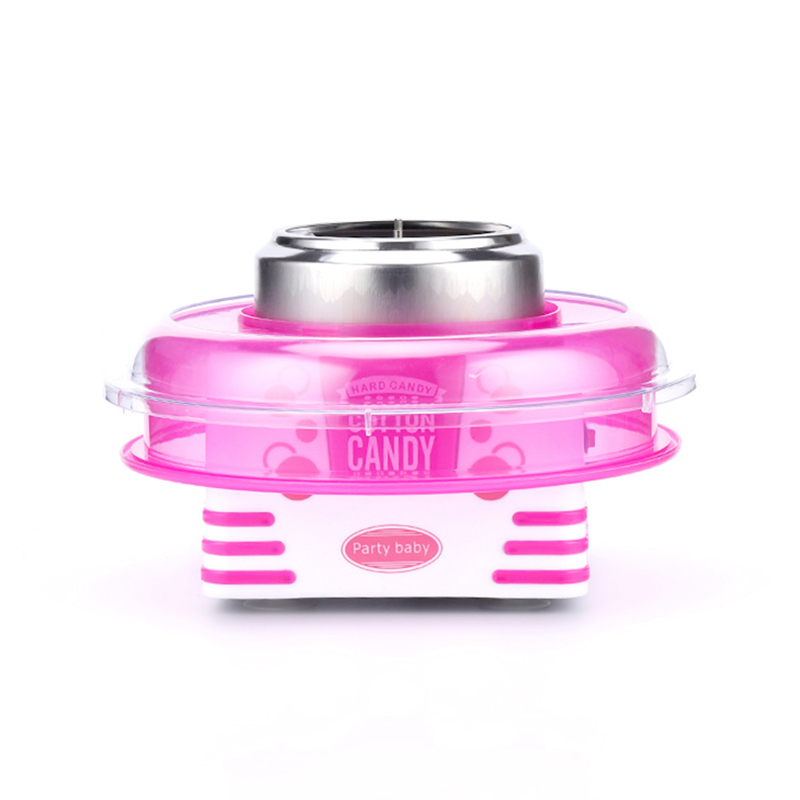
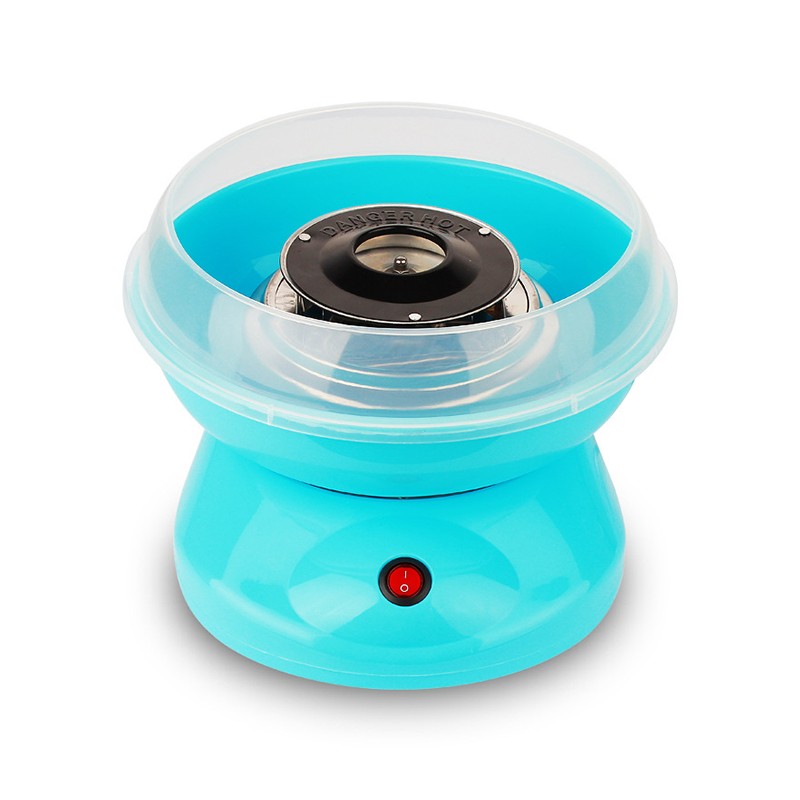
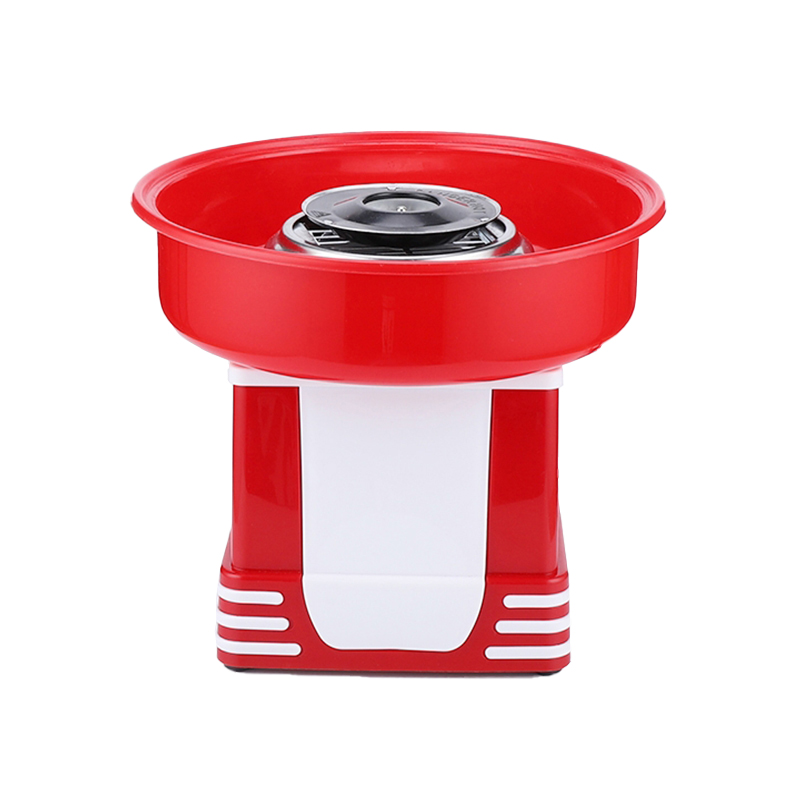
To use a cotton candy maker: place it on a flat surface, let it preheat empty for 3–5 minutes, add one tablespoon of floss sugar to the spinning head, then circle a cone or stick around the bowl to collect the threads as they form. The whole process from plug-in to a finished cone typically takes under 10 minutes, and a single scoop of floss sugar is usually enough for one full serving.
This guide covers the full process in more detail — what sugar to use, how to get consistent fluffy results, common mistakes that cause a thread-free session, and how to clean the machine afterward so it keeps working properly.
What You Need Before You Start
Beyond the machine itself, three things make the difference between a smooth session and a frustrating one:
- Floss sugar (not regular granulated sugar) — larger, pre-colored and pre-flavored granules designed specifically for cotton candy machines
- Paper cones or bamboo/wooden sticks — used to gather and wind the threads as they spin off the head
- A flat, stable, draft-free surface — away from fans, open windows, or air conditioning vents
Air movement is the single biggest enemy of cotton candy: even a light breeze scatters the fine threads before they can build up on the cone, so setting up away from any airflow matters more than most people expect.
Step-by-Step: How to Use a Cotton Candy Maker
These steps apply to most home and countertop machines. Always check your specific model's manual for any variations.
- Set up the machine. Place it on a flat, stable, dry surface, away from drafts. Make sure the bowl and spinning head are clean and properly attached.
- Plug in and preheat. Turn the machine on and let it run empty for 3–5 minutes. Skipping this step is one of the most common causes of a thread-free first attempt — the head needs to reach roughly 160–180°C (320–356°F) before sugar will spin into fine threads instead of clumping.
- Add the sugar. Use the provided scoop to add about one tablespoon of floss sugar into the center of the spinning head. Don't overfill — too much sugar at once causes it to pool and clog rather than spin out.
- Watch for threads. Fine strands should start appearing within about 30 seconds. If nothing forms after a minute, see the troubleshooting section below rather than adding more sugar.
- Collect the floss. Hold a cone or stick vertically at the edge of the bowl and rotate it in a steady circular motion, letting the threads wrap around it in layers. Move up and down slightly for even coverage.
- Finish the batch. Once the sugar is used up, let the machine run a few more seconds to clear any remaining threads from the head before adding more sugar or switching off.
- Turn off and unplug once you're done making batches, and let the machine cool before cleaning.
Why Floss Sugar Matters
Regular granulated table sugar can technically work in most machines, but it produces thicker, less voluminous threads and a less consistent result. Floss sugar is formulated specifically for this purpose, with a grain size and added flow agents that spin more finely and evenly.
Powdered sugar and caster sugar should not be used — both are too fine for a cotton candy machine and tend to burn rather than spin into threads, which can leave hard, blackened residue on the spinning head that's difficult to clean off.
| Sugar Type | Suitable? | Notes |
|---|---|---|
| Floss sugar | Best choice | Purpose-made; finest, most consistent threads |
| Granulated table sugar | Workable backup | Thicker, less fluffy result; no color or flavor |
| Caster sugar | Not recommended | Too fine; burns easily |
| Powdered/icing sugar | Not suitable | Contains anti-caking agents; burns and clogs the head |
Troubleshooting Common Problems
Most issues with a cotton candy maker trace back to one of a few root causes, all of which are easy to fix once identified.
No threads are forming
This is almost always a preheating issue. Stop adding sugar, let the machine run empty for another 1–2 minutes, then try again with a smaller amount — about half a teaspoon — to test whether it's spinning properly.
Sugar is clumping or pooling instead of spinning out
Too much sugar was added at once. Let the machine clear itself by running empty for a minute, then restart with a smaller quantity.
Threads collapse or feel sticky
Cotton candy machines perform poorly above roughly 60% relative humidity, since the fine threads absorb moisture from the air and lose their structure. If possible, run the machine in a drier room or wait for a less humid day.
Safety Precautions to Follow
The spinning head reaches temperatures around 160–180°C, hot enough to cause a burn on contact, so a few precautions matter every time the machine is used.
- Keep hands, hair, and loose clothing away from the spinning head while it's running
- Only add sugar when instructed by the manufacturer's steps — never reach into a running head
- Supervise children closely; the machine should be operated by an adult
- Place the machine on a stable, level surface so it can't tip during operation
- Turn off and unplug the machine, then let it cool fully, before touching the head or attempting any cleaning
Cleaning and Storage After Use
Leftover sugar hardens quickly and can clog the tiny holes in the spinning head, so cleaning after each use — or at minimum once a week with regular use — keeps the machine working properly and prevents burnt sugar buildup.
- Turn off and unplug the machine, then let all components cool to a safe touch temperature.
- Remove detachable parts, such as the bowl and spinning head, if your model allows it.
- Wipe surfaces with a soft, damp cloth. Soak heavily hardened sugar in hot water to dissolve it before wiping.
- Avoid harsh detergents, abrasive pads, and submerging the base or motor in water — these can damage the spinning mechanism or electrical components.
- Dry all parts completely before reassembling or plugging the machine back in, since moisture left on electrical components is a safety risk.
- Store the machine in a dry location, ideally covered, to keep dust and humidity away from the motor and heating element.