 English
 中文简体
中文简体 عربى
عربى Español

After the box is open and the tower clicks onto the base, the first twenty minutes decide whether your chocolate fountain runs beautifully or quietly fails. The most common failure is not mechanical: the chocolate was never fluid enough to climb the auger in the first place. The practical takeaway is simple — prepare the chocolate correctly before you switch the machine on, and the fountain will do the rest. This guide covers the complete routine, from selecting the right chocolate and melting it to preheating, filling, choosing dippers, and cleaning up after the party. Each step is straightforward, but skipping one is the usual reason a fountain ends up with a clogged tower and a disappointed crowd.
Start With the Right Chocolate
Couverture chocolate or fountain-specific wafers are the safest choice. They contain extra cocoa butter and flow well through the narrow channel inside the tower. Ordinary chocolate chips are formulated to hold their shape in cookies, so they melt into a thick paste that struggles to climb upward. If chips are all you have, plan to add extra oil.
Dark chocolate between 55 and 65 percent cacao works well on its own, balancing flavor and fluidity. Milk chocolate is sweeter and popular with children; many hosts use half milk and half dark chocolate by weight to keep the taste balanced and the flow steady. White chocolate needs the most help because it contains little cocoa butter — stir in a spoonful of coconut oil or heavy cream to keep it moving.
Oil is the standard thinner for a fountain. Use a neutral oil such as vegetable, canola, or coconut oil, or use cocoa butter if you want to keep the flavor untouched. Start with one to two tablespoons of oil per 200 grams of chocolate, then adjust after you see how the fountain actually flows.
| Fountain size | Chocolate weight | Oil to add | Approximate servings |
|---|---|---|---|
| Mini home fountain (65W) | 200–300 g | 1–2 tablespoons | 4–6 people |
| Standard home fountain | 400–600 g | 3–4 tablespoons | 8–12 people |
| Large party fountain | 1–1.5 kg | 1/4–1/2 cup | 20 or more people |
Melt the Chocolate Completely Before It Goes In
Melt the chocolate separately while the fountain preheats. A fountain is designed to hold chocolate at serving temperature, not to melt solid chunks. Adding unmelted pieces to the basin creates lumps that can clog the auger.
- Chop the chocolate into even pieces so it melts uniformly.
- Heat it in a microwave in 20–30 second bursts at medium power, stirring after each burst, or melt it in a double boiler over barely simmering water with the bowl not touching the water.
- Stop heating as soon as the chocolate is smooth, check the temperature with a clean dry thermometer, and pour it into the fountain immediately.
Keep water away from the chocolate at all times. Even a few drops of water will make it seize into a stiff, grainy paste that cannot be recovered in a fountain. Temperature also matters: dark chocolate should be melted to about 50–55°C, while milk and white chocolate should not exceed 45–48°C. Overheating dulls the color, roughens the texture, and adds a bitter note.
Preheat the Fountain, Then Pour
Turn the fountain on and let it preheat for 5 to 10 minutes before adding chocolate. This warms the central auger and the tower wall, so the first chocolate touches a warm surface and keeps moving instead of solidifying on contact.
Pour the melted chocolate into the center of the basin at the base, not over the top of the tower. The auger lifts the chocolate upward and it cascades down the tiers. If you want to understand the mechanism in more detail, this guide to how a chocolate fountain works walks through the flow path component by component.
Within a minute the curtain should be even. If the chocolate moves slowly or thickens on the tower, stir in warm oil one teaspoon at a time. If it runs too fast and tastes thin, add more melted chocolate to the basin. Never add water to adjust consistency. Also avoid overfilling: if the basin has a maximum line, keep the chocolate below it, because overfilling spills over the rim when the auger starts turning.
Choose Dippers That Hold Up
Firm, dry dippers coat the best. Strawberries, banana chunks, pineapple pieces, apple slices, marshmallows, pretzels, biscotti, shortbread cookies, angel food cake cubes, and dried apricots all stay on a skewer and pick up an even coating. Skip watery fruits such as watermelon or orange segments; their juice thins the chocolate and can break the flow. Soft, crumbly cakes shed crumbs into the basin, which can clog the channel during a long party.
Use wooden skewers or fondue forks, let each piece drip over the basin for a second, and never return a used skewer to the chocolate. A small bowl of sprinkles, crushed nuts, or shredded coconut beside the fountain lets guests finish the coated pieces before the chocolate sets. Chocolate quality also shows in the dip: a thin or sugary coating usually means the chocolate had too much oil, while a coating that cracks right after dipping means the chocolate was too thick or too cool. Let the fountain run for a few more minutes to stabilize the temperature before judging the result.
Clean the Fountain Soon After the Party
Do not let the chocolate harden overnight before cleaning. Wait until it is cool but still soft, then disassemble the fountain. Most home units separate into three parts: the tower, the auger, and the base basin. Wash each piece in warm soapy water with a soft sponge.
Material makes a difference here. Stainless steel resists staining and wipes clean quickly — a stainless steel mini chocolate fountain stays presentable after years of parties. Plastic parts scratch more easily and need a gentler sponge. Check the manual before putting any component in the dishwasher, because hot water can warp plastic shells. Dry every part thoroughly before reassembling the fountain for storage. Any chocolate left in the basin can be poured onto a parchment-lined tray and cooled into solid pieces for snacking later; do not pour it down the sink, because melted chocolate solidifies in the pipes and can cause a blockage.
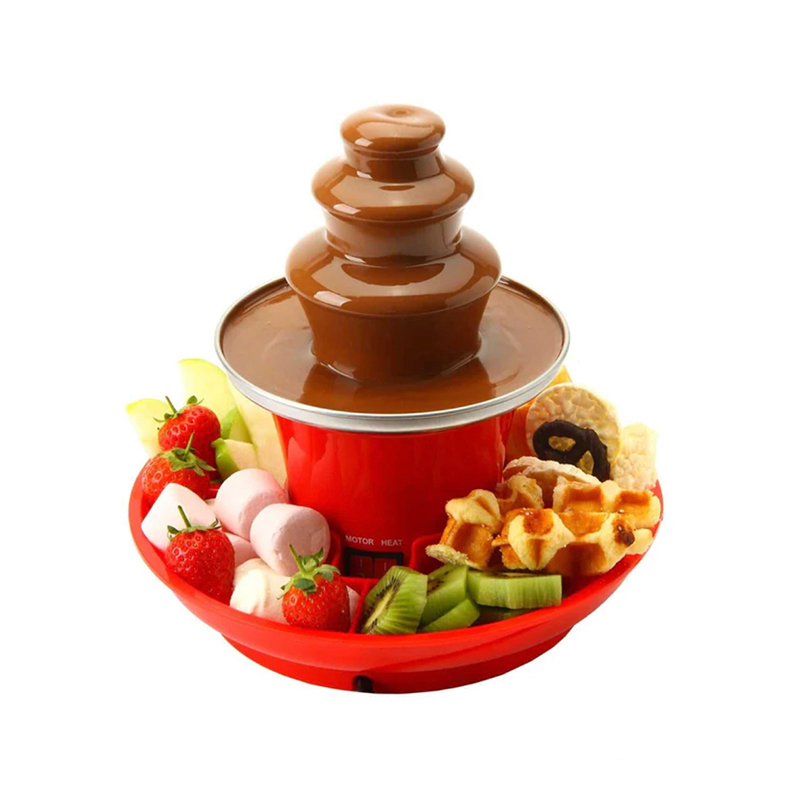 Wholesale Model JK-111 Orange Stainless Steel Mini Chocolate Fountain Suppliers,Cixi Xinpu Jianke Electric Appliance Factory is China wholesale Model JK-111 Orange Stainless Steel Mini Chocolate Fountain suppliers and...View Product →
Choose the Right Fountain for Your Home
If you are still deciding which fountain to buy, match the machine to the number of guests, the counter space you have, and how often you will use it.
- Wattage: a 65W mini chocolate fountain
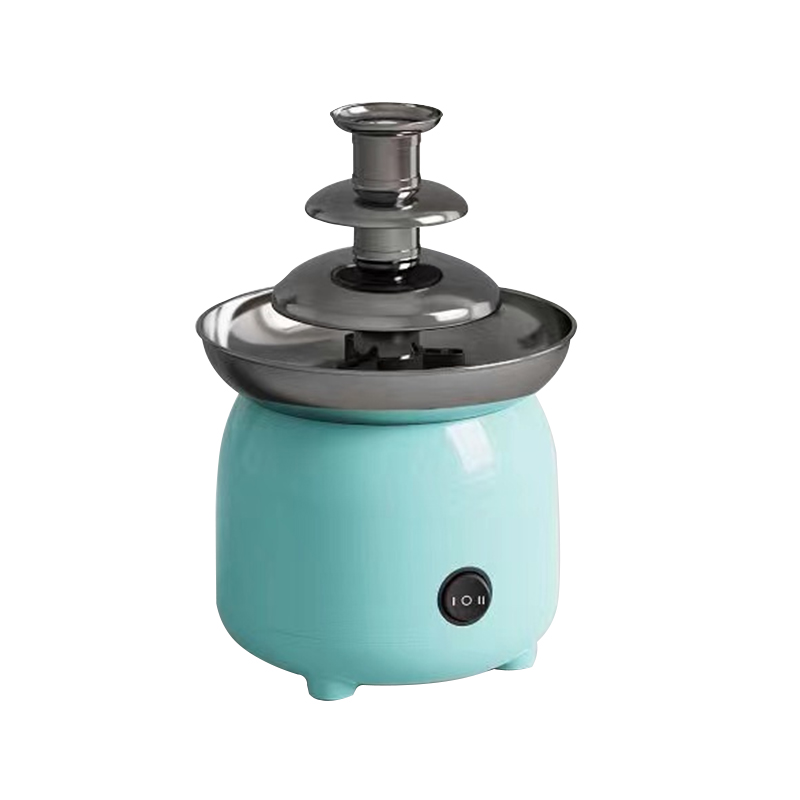 Wholesale Model JK-Q120 65W Mini Chocolate Fountain Suppliers, Factory - Cixi XiCixi Xinpu Jianke Electric Appliance Factory is China wholesale Model JK-Q120 65W Mini Chocolate Fountain suppliers and factory,The 0.9m ...View Product → keeps a steady flow for a small family gathering, while a higher-wattage machine recovers temperature faster when the basin cools down.
 - Material: stainless steel is more durable and easier to clean, while a lightweight PP-shell mini chocolate fountain
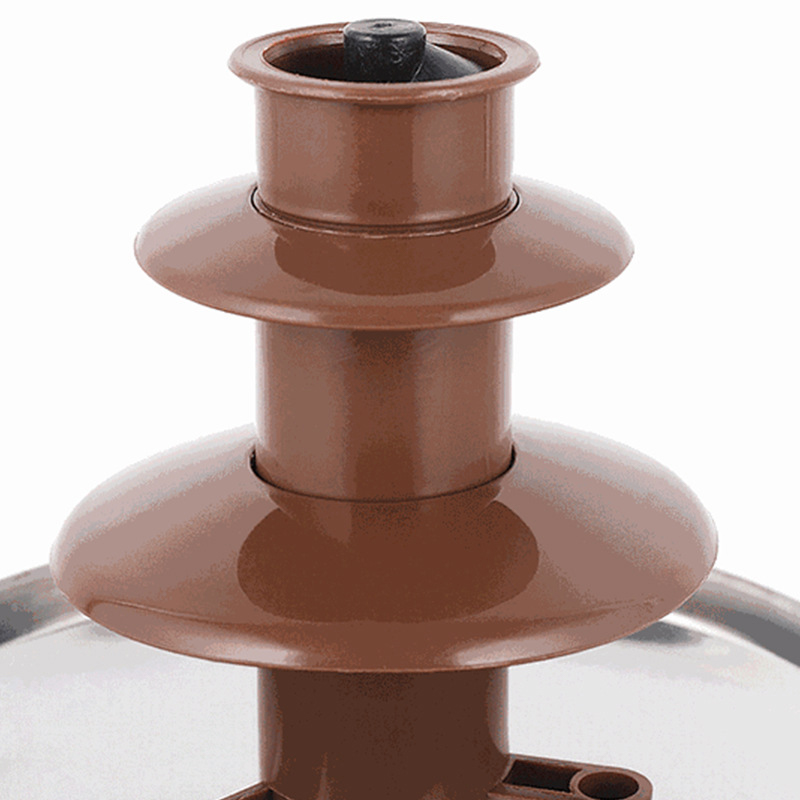 Wholesale Model JK-110 PP Shell Mini Chocolate Fountain Suppliers, Factory - CixCixi Xinpu Jianke Electric Appliance Factory is China wholesale Model JK-110 PP Shell Mini Chocolate Fountain suppliers and factory,The s...View Product → is lighter to carry and easier on the budget.
 - Storage height: a fountain stands roughly 30 to 60 centimeters tall depending on the model, so check the cabinet shelf where it will live between events.
Think about real serving conditions as well: a fountain that has to serve eight people at a birthday party needs a wider basin and more chocolate than a small model that sits on a kitchen counter for two. And if you are buying for resale or a branded event, the factory's custom design service lets you adjust casing color, packaging, and plug standards to your target market.