 English
 中文简体
 عربى
 Español


There is a particular kind of joy that comes from handing someone a paper cone of candy floss still warm from the machine. Kids light up, adults get nostalgic, and the whole room suddenly smells like a fairground. The good news is that this feeling does not require a trip to the carnival — with a small machine and a bag of ordinary sugar, you can make candy floss at home in under ten minutes.
We have been building cotton candy machines for years, and we have watched first-time users succeed and struggle in ways that almost always come down to the same handful of details: the right sugar, a properly warmed spinning head, and a steady hand when the first strands appear. This guide walks through all three, plus the small adjustments that turn a decent batch into a beautiful one.
What Candy Floss Actually Is
Strip away the fairground mystique and candy floss is a simple physics trick. A spinning head sits in the middle of the machine, heated by a coil underneath. When granulated sugar is poured into the head, the heat melts it into a liquid, and centrifugal force pushes that liquid out through tiny holes around the rim. The instant it escapes, it meets cool room air, freezes into an ultra-fine strand, and drifts outward into the bowl where it waits to be collected.
That is the entire process — heat, spin, cool, collect. It also explains why the method is so forgiving: once your sugar melts cleanly and your head spins fast enough, the floss almost makes itself. Depending on where you grew up, you might call the result cotton candy, candy floss, or fairy floss. The machine and the technique are identical, so every tip below works whatever name is on the box.
The Equipment You Actually Need
- A cotton candy machine with a heated spinning head
- Plain white granulated sugar, roughly 100 to 150 grams for a generous batch
- Paper cones or wooden candy sticks
- A small scoop or measuring cup for adding sugar
- A damp cloth within easy reach for quick cleanups
- An airtight container if you plan to serve the floss later
Notice what is not on that list: syrup, water, or a candy thermometer. Candy floss needs no liquid at all, and water is genuinely the enemy here, because damp sugar clumps in the head instead of fluffing into strands. When you are shopping for a machine, look at three things: how quickly the head heats, how wide the bowl is, and how easy the head is to remove for cleaning. Aluminum and stainless steel turntables tend to hold heat evenly and release sugar cleanly, which is why we use them in our own builds. If you would like to see the options side by side, you can browse our full cotton candy machine range before you commit.
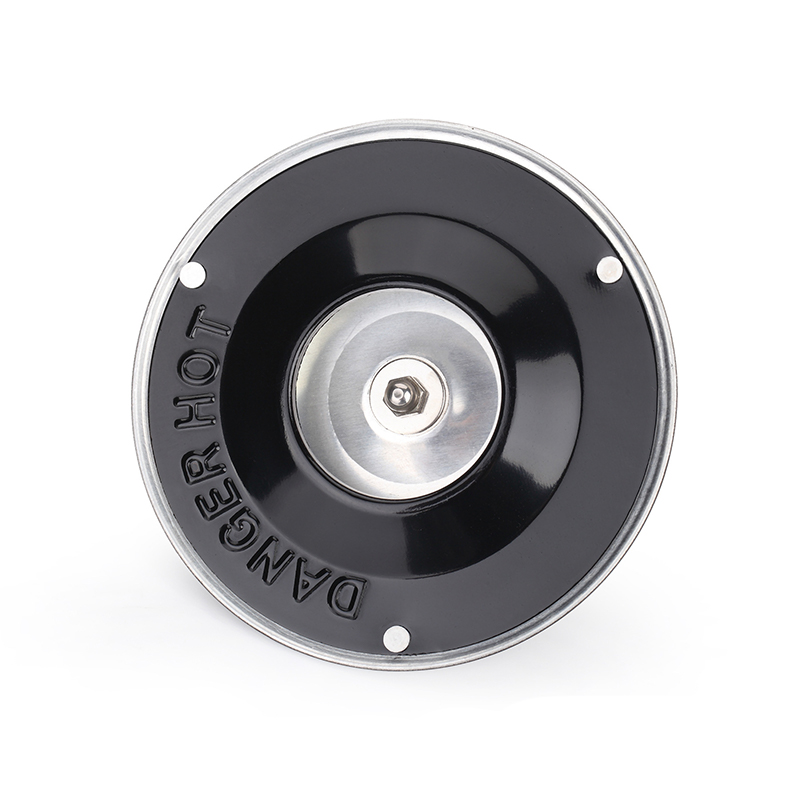 450W Aluminum Turntable Cotton Candy Machine JK-M05A 450W model with an aluminum turntable and non-stick coating, using quartz or stainless steel heating for dry-sugar candy floss.View Product →
Choosing Your Sugar
Almost every disappointing batch we hear about starts with the wrong sugar rather than the wrong technique. Plain white granulated sugar is the benchmark: its crystals are small, dry, and consistent, so they melt at the same moment and produce light, dry strands. Anything with a lot of moisture or a lot of molasses will fight you.
| Sugar Type | Result | What Happens |
|---|---|---|
| White granulated | Best choice | Melts evenly and produces fine, dry, airy strands. |
| Coarse or raw | Workable, but tricky | Larger crystals melt unevenly and can leave grit in the head. |
| Brown sugar | Avoid | Molasses scorches before the sugar melts, tasting bitter and looking dark. |
| Pow powdered or icing | Avoid | Fine particles clog the holes and burn quickly against the heater. |
| Pre-flavored floss sugar | Good | Formulated for machines; adds color and flavor in a single step. |
How to Make Candy Floss, Step by Step
The sequence below is the one we recommend to every new owner, and it is also the flow we follow in our own tests. If you prefer a printable walkthrough with the same sequence, our step-by-step guide to using a cotton candy machine covers it in a little more detail.
Step 1: Preheat the head
Switch the machine on and let it run empty for three to five minutes. The head needs to be genuinely hot before sugar touches it; a lukewarm head turns sugar into sticky grit instead of floss. You will know it is ready when the rim feels hot to a hovering hand and the motor hums at a steady pitch.
Step 2: Add the sugar slowly
Start with one or two tablespoons, poured into the center of the spinning head. Never fill the head to the top and never tip in a whole cup at once. Small additions melt in a controlled way, while a large dump cools the head and produces a wet, lumpy result. Wait until the previous spoonful has almost disappeared before adding the next.
Step 3: Spin and collect
Strands begin to appear within fifteen to twenty seconds. Hold your cone or stick horizontally and let the tip touch the very edge of the bowl, then rotate it slowly. Keep the cone inside the bowl rather than dragging it across the rim, and give the floss a quarter turn every second or two so it wraps on evenly.
Step 4: Lift, twist, and serve
When the cone looks full, lift it straight up and give it a gentle twist to break the last threads. Candy floss is at its best in the first minute or two, when it is still dry and cloud-like. If you are serving a crowd, spin several cones in advance and stack them in an airtight container away from steam and humidity.
Adding Flavor and Color Without Wrecking the Batch
Flavor is where enthusiasm often outruns physics. Water-based extracts and liquid food dyes introduce moisture, which makes strands stick together and shortens their shelf life dramatically. Reach for oil-based candy flavoring or a pinch of powdered drink mix instead, and add no more than a quarter teaspoon per hundred grams of sugar.
Color works the same way: gel or powder colors are far kinder to the machine than liquid drops. The simplest route is pre-flavored floss sugar, which already combines pigment and aroma in the right proportions. For a natural alternative, a tiny amount of beetroot powder gives a soft pink tint without altering the texture, though it does carry a faint earthy note that some people love and others do not.
Common Problems and Quick Fixes
When a batch goes wrong, it is usually obvious why within a few seconds. Use the table below as a fast diagnostic before you adjust anything else.
| Problem | Likely Cause | Fix |
|---|---|---|
| No floss forms | Head not hot enough | Run empty for another three minutes before adding sugar. |
| Strands feel wet and sticky | Humid room or damp sugar | Work in dry air and keep sugar in a sealed jar. |
| Floss tastes burnt | Too much sugar at once | Add smaller spoonfuls and empty the head between batches. |
| Floss falls apart on the cone | Spinning too slowly | Let the motor reach full speed before collecting. |
| Hard crust inside the head | Residue left from a previous batch | Dissolve the crust in warm water before the next run. |
Keeping It Clean Between Batches
Cleaning takes two minutes if you do it while the machine is still slightly warm, and twenty if you wait until the sugar sets like concrete. Unplug the machine, let the head stop completely, then wipe the bowl with a damp cloth. For the head itself, a little warm water poured over the rim dissolves residual sugar quickly; just never immerse the motor base or pour water into the housing.
Stainless steel components are noticeably easier to live with over the long run, since sugar releases from them cleanly and they resist the small scratches that trap residue. That is one reason our stainless steel cotton candy machine is a favourite with families who use theirs every weekend, and why we suggest a soft brush rather than a scouring pad for the bowl.
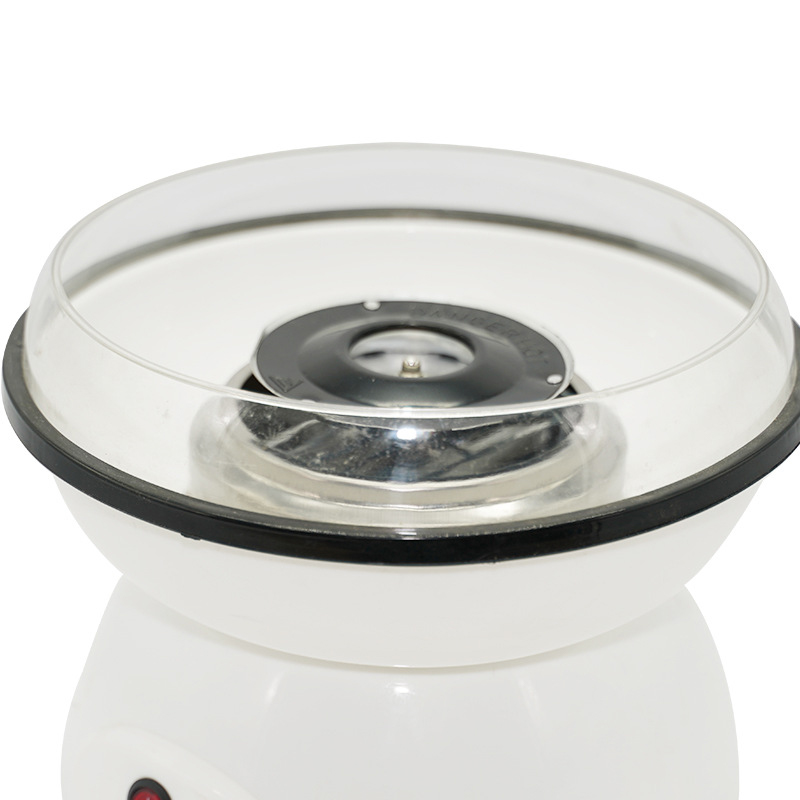 Stainless Steel Cotton Candy Machine JK-M04A compact 450W home machine with a stainless steel cover and aluminum turntable, suited to frequent weekend use and easy cleaning.View Product →
Turning It Into a Party Activity
Candy floss is one of the few kitchen projects that keeps a room full of children occupied and quiet at the same time. Set the machine at the back of a table, keep small hands away from the heated head, and let each child take a turn holding the stick while an adult controls the sugar. Two or three tablespoons per child is plenty, and the whole session rarely runs longer than twenty minutes.
Lighter, lower-powered machines are easier for beginners to handle and take up less counter space, which is why our kids cotton candy machine with moving wheels is built around simple controls and a compact bowl. Whichever model you choose, pre-measure the sugar into small cups beforehand and the activity runs itself.
 Cotton Candy Machine with Moving Wheels JK-M01A compact 450W wheeled model with simple controls and a stainless steel cover, convenient for home, store, or party use.View Product →
Making candy floss at home really is one of those things that looks harder than it is. Dry white sugar, a hot head, a slow hand, and a bowl that stays inside the machine — those four habits cover ninety percent of the results. Start with a small batch, taste it, adjust the sugar amount, and by your third cone you will be spinning floss that looks like it came off a fairground cart.
And if something goes wrong on the first attempt, that is normal too. Every machine we ship has been tested with plain granulated sugar before it leaves the factory, so the equipment is rarely the problem. Give it a second run with fresh sugar and a fully preheated head, and the fluff will come.